Here it is, the second tutorial to go with the Classic Curves Ruler: Squaring up your blocks. This could also be used for other types of blocks, too. In my teaching experience, trimming and squaring blocks is usually the part that quilters struggle with the most. It is a critical step, though, so that all your blocks are the same, fit together, and seams match when you sew them together. Remember to always make sure when you trim that you are paying attention to seam allowance around your shapes, whether it’s curves or star points. See the first tutorial, on cutting with the Classic Curves Ruler, Here.
Watch video demonstrations for the CCruler and curved piecing on Color Girl Youtube <<here>>
While there isn’t a lot of trimming required with the CCR blocks, with curves there is inevitably some blocks that come out a bit wonky so it’s good to trim for consistency and nice, straight blocks.
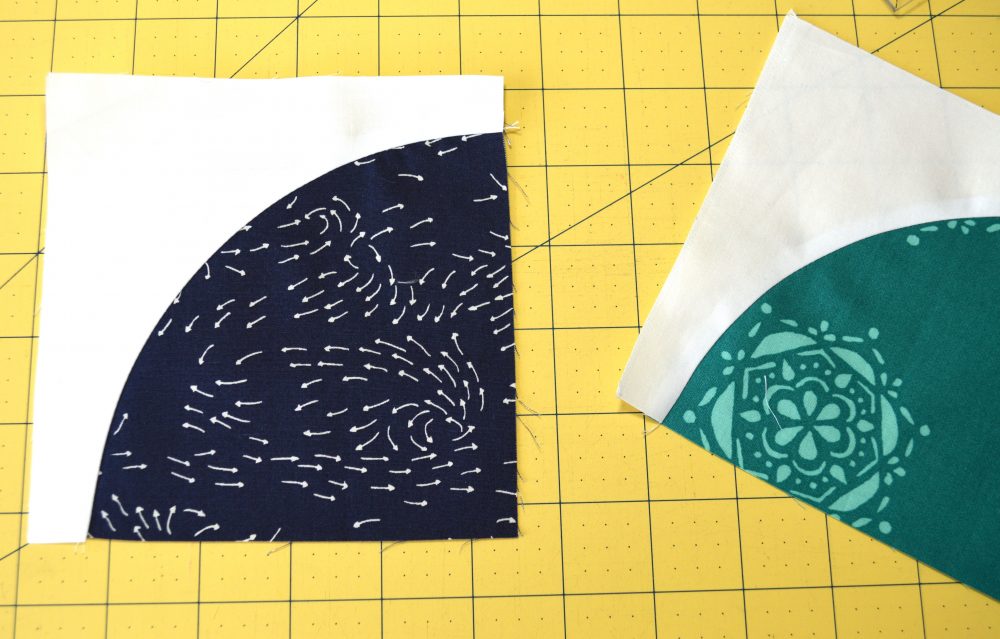
For my example, I am sewing drunkards’ path blocks that are 5″ unfinished (4 1/2″ finished). To make these blocks, I cut the pieces using the 5″ groove on my Classic Curves Ruler. (see post on how to cut with the CCR)
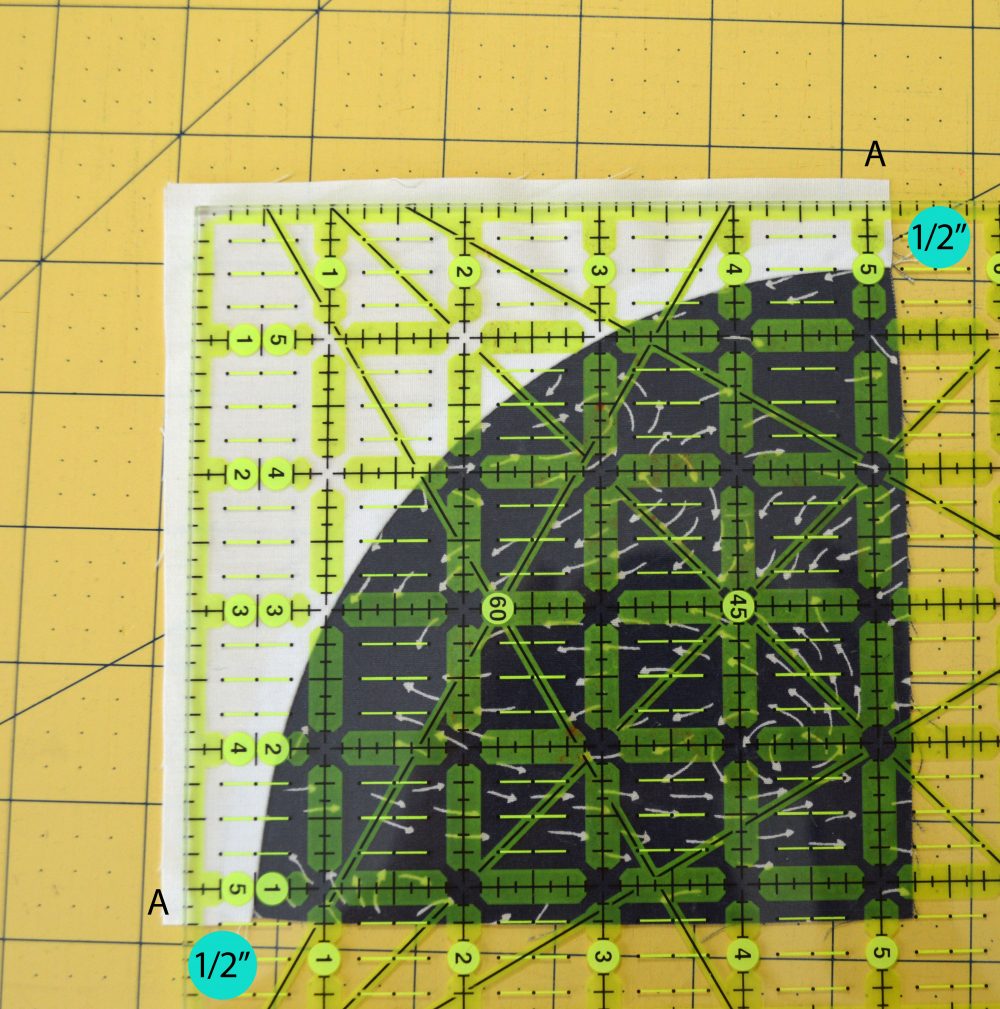
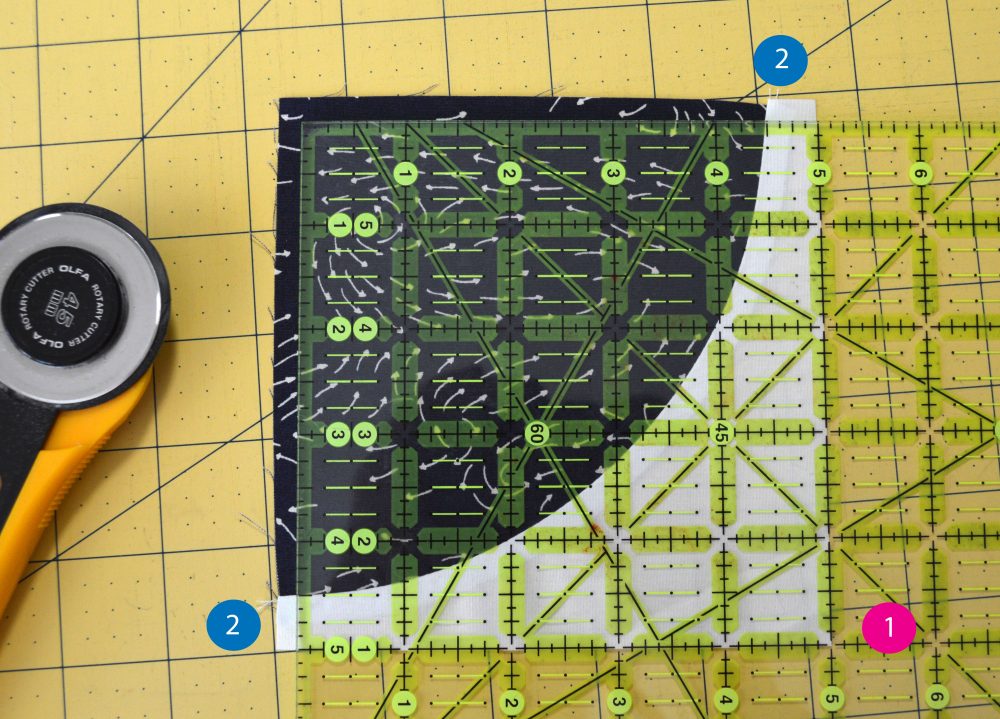
- Place your block on the cutting surface oriented as shown above, and place your ruler over the block. First, make sure the white fabric “leg” is 1/2″ to the outside of the curve on both ends (blue circles in photo above). **This measurement doesn’t have to be 1/2″. As long as it’s greater than 1/4″ for seam allowance it can be whatever you want. Just make sure it’s the same on both ends**
- Next, check that the amount of white fabric at the ends of each white leg (outside your 5″ mark on the ruler) is equal at both ends (A in photo above and below). Adjust the position of the ruler as needed to ensure both of these requirements are met.
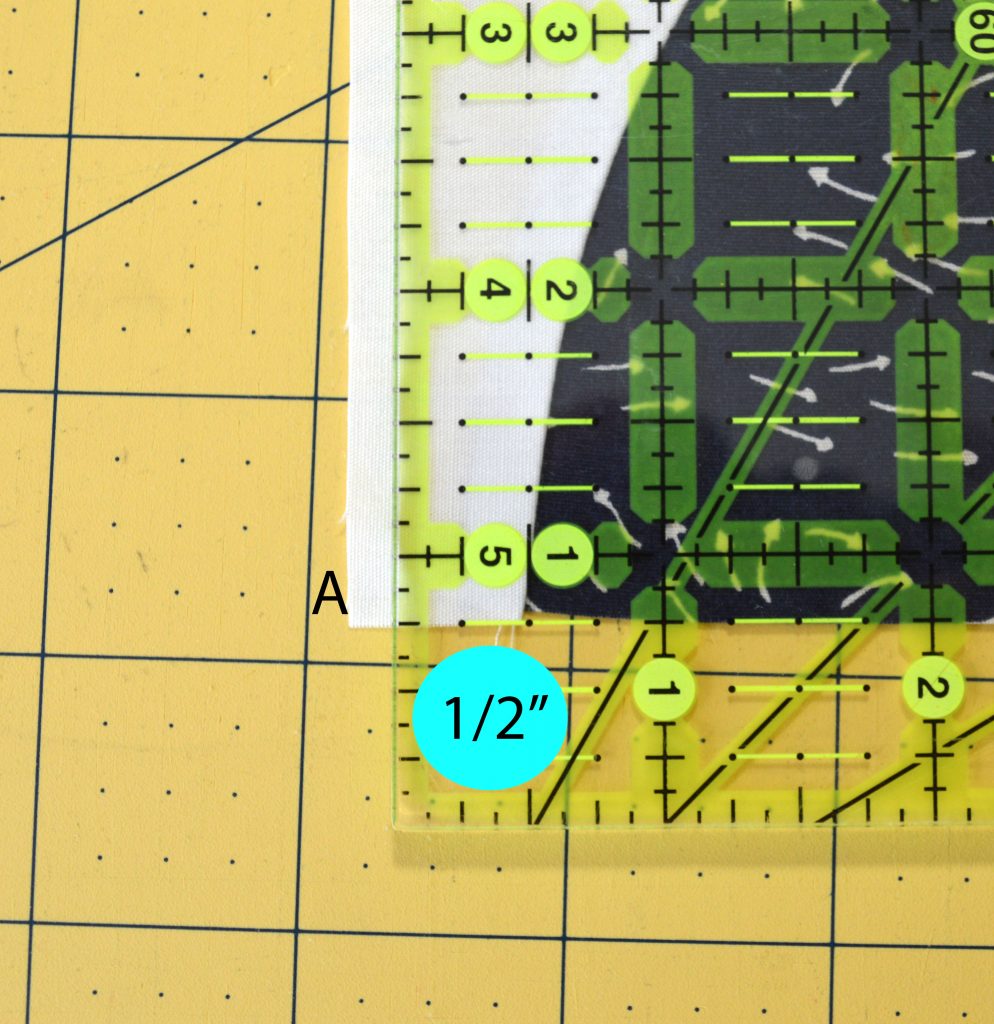
- Cut the white fabric outside the ruler.

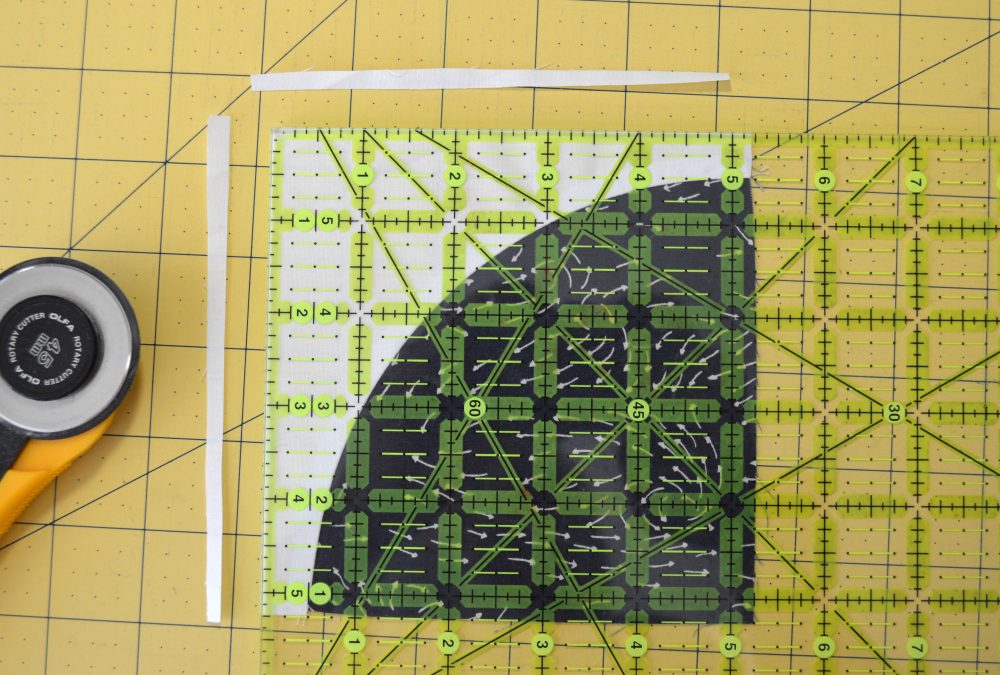
- Rotate the block so that the now straight/right angle white corner is aligned with the 5″ markings on the ruler. (Pink in photo below)

- Again, you’ll see that the white legs are 1/2″ wide at both ends of the curve and you are trimming off the same amount on both sides of the blue. Cut the 5″ square.

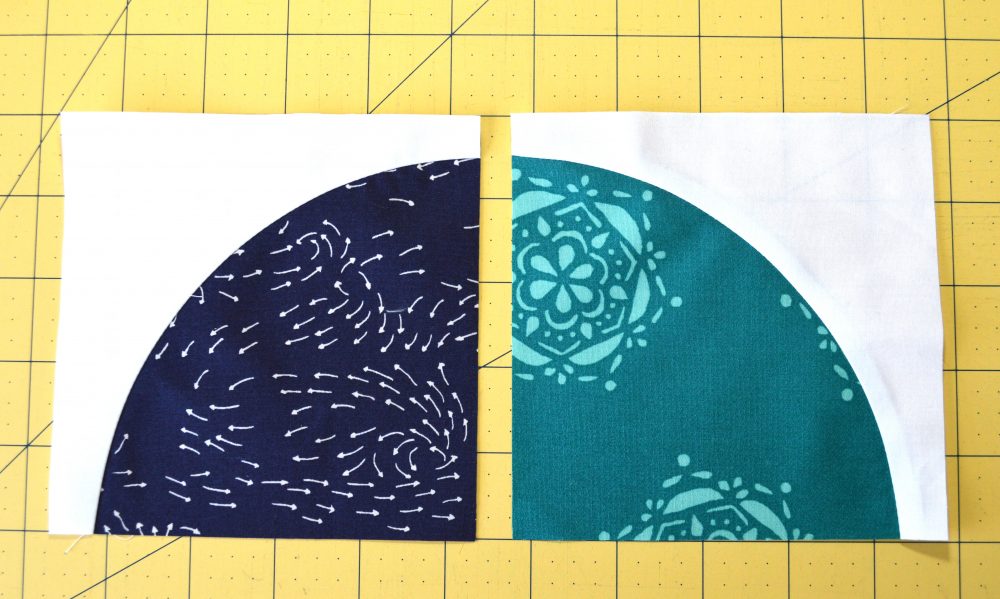
If you cut all your blocks in this way, they will have equal seam allowance and they will fit together nicely when you sew them together. Adjust to the specific size block you are making and how much of the background (white) fabric you want to show between your curved pieces. If you cut them down to 1/4″ outside the curve (step 1 above), then your circles will butt right next to each other without any white in between.
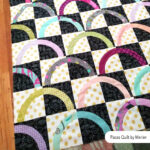
Are you ready to start sewing curves? It’s easy with the Classic Curves Ruler. The ruler comes with a pattern to make a small drunkards path quilt so you’ll get the hang of it and be off on your curved piecing adventure!
Sharon
Get special offers and news right in your inbox! Be sure and sign up for my mailing list.


If your block isn’t square to begin with what do you do?