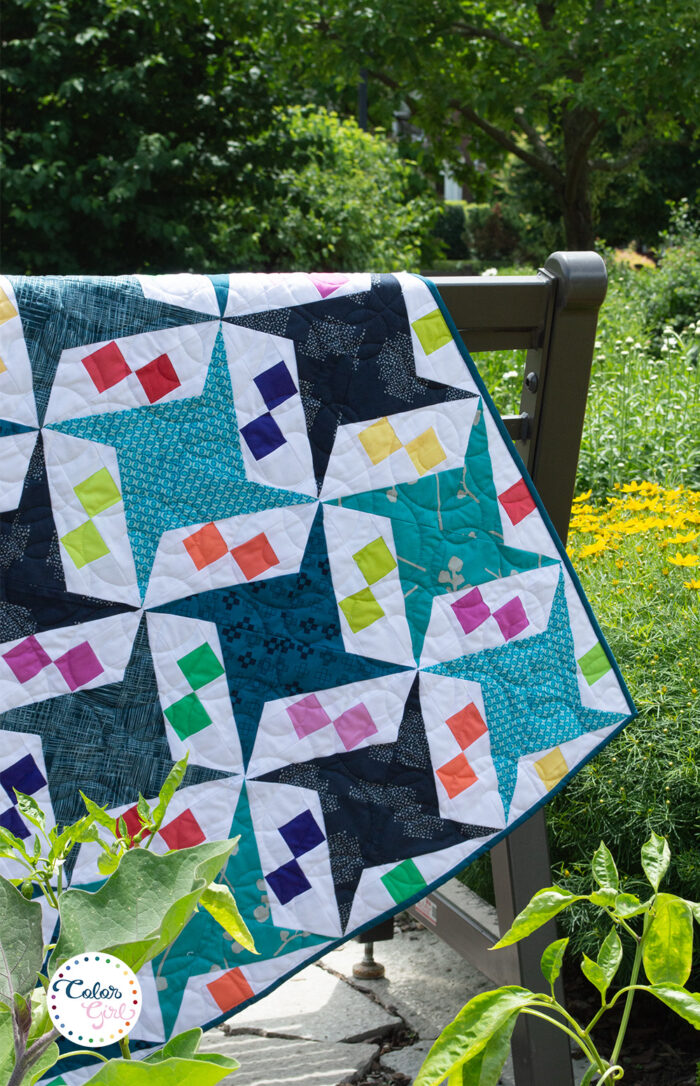
Yeaaaa! it’s been so fun showing you the new Rocky Road quilt pattern. I hope you have had a chance to snap up your copy! Since the new pattern includes a technique that might be new to some quilters, I’m here today to tell you all the juicy tips to be successful at paper foundation piecing. It’s one of those things that a lot of quilters have strong feelings about:
+ “so confusing! it’s like sewing upside down and backward”
I get it! it takes a minute to wrap you mind around it, but once you get going it’s really fun and one of the most satisfying skills to have in your sewing toolbox. In each of the paper piecing patterns I’ve written, you get step by step written and fully illustrated instructions. My bet is you’ll find it easier than you think if you have good directions.

+ “do I need some kind of specialty paper?”
I love this question! here we go:
As far as paper goes, you can use plain old white printer paper or whatever is in the copy machine. The lighter weight the better, but anything will do. I use my normal at-home printer to print off all the templates for PFP quilts. There are some products at your local shops that you might like. You’ll have to see what works best for you.
June Taylor Perfect Piecing papers. These are my personal favorite specialty product. (not an affiliate or endorsement, I just like it) The package comes with a bunch of sheets that are the right size to go through your printer or copier. The translucency allows you to see your fabric through the paper, which can be super helpful during piecing. The texture is a bit like a stiff dryer sheet. See below:

Other options for paper and suggestions before use:
Newsprint: you can buy blank newsprint at art supply stores in the sketchbook and paper aisle. Newsprint is nice because it’s quite fine and therefore easy to remove once you’ve finished sewing. The downside is that ink may rub off on your hands or fabric. Do a test to make sure your templates don’t bleed.
Leave-in Template Papers: these products are designed to leave in your quilts, so you don’t need to remove the papers after sewing. This is really nice because removing the paper is not super fun. Big warning on this, though: if you use these for a quilt that you plan to wash, the ink can wash off the templates and bleed through your fabric. You don’t want to make a beautiful quilt and leave the templates inside only to have it ruined when washed. Print a template, sew some fabric on it and give it a rinse to make sure the ink doesn’t come off on your fabric. You can avoid this risk by using a water soluble or heat removable pen to trace the patterns rather than printing with ink.
+ “Removing the paper afterward is huge hassle.”
Yeah, it kind of is. Definitely not the most fun, but there are ways to make it easier and therefore quicker.
Before you start: decrease your stitch length slightly. This helps your stitches stay tight as you pull the papers and also perforates the paper more completely so it tears away easily.
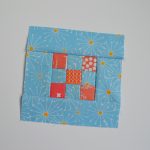
As you go: remove the paper behind the seam allowances as you sew templates together. Many patterns require you to make several templates that are then sewn together to make a block or the finished quilt. Removing the seam allowance paper as you go decreases thickness and prevents paper getting stuck under seams, which can be difficult to remove. See below, paper removed from seams after sewing two templates together:

When you finish: when you remove the paper from the sewn fabric, there is a risk of tearing or loosening stitches. This will happen less if you remove paper from the middle of the seam and tear outward toward edges. So, carefully use a seam ripper or scissors to cut the paper at the center to allow you to get your fingers between paper and fabric. Tear the paper toward the middle of an adjacent seam, then outward to the edges. Since it’s the stitches at the ends of the seams most likely to tear apart, this reduces that problem a lot.
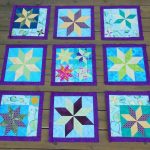
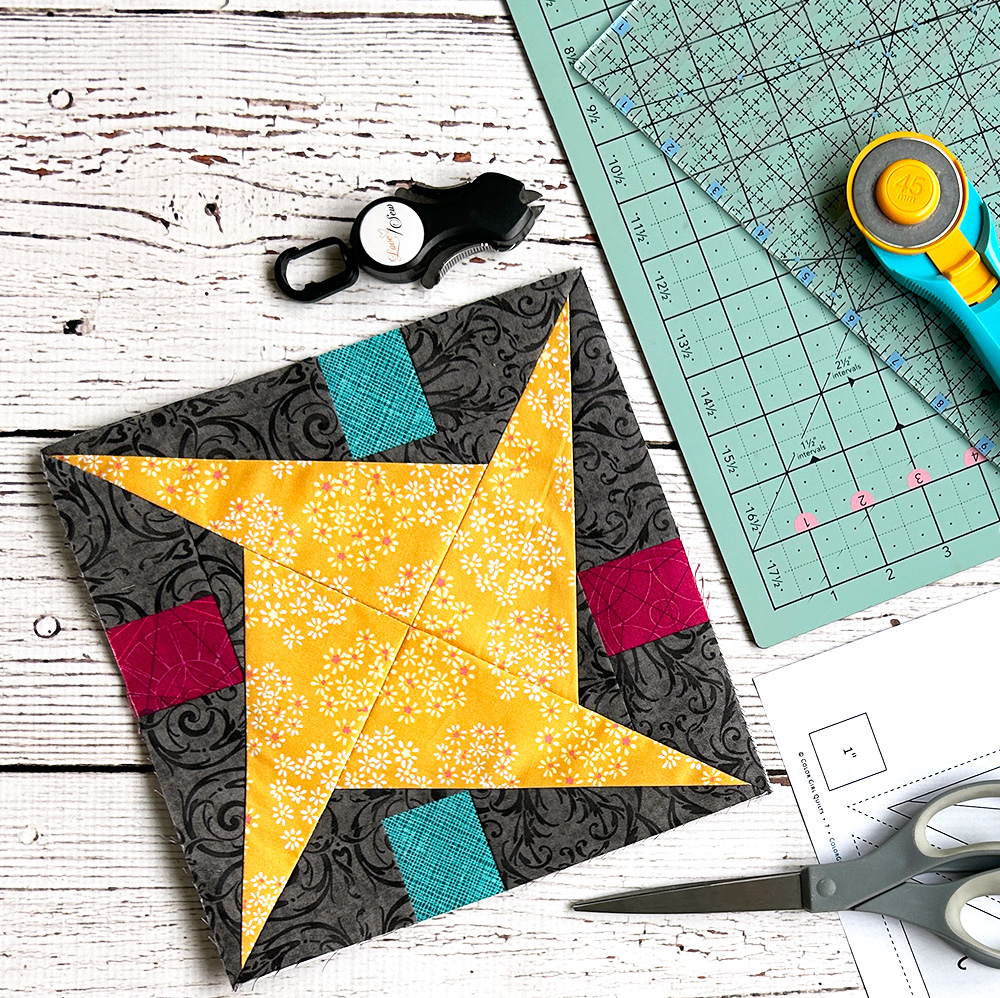
So, why paper foundation piecing? there is no better way to make quilt designs with perfectly pointy points, odd shaped pieces, and very small pieces. The results are worth the effort and many headaches will be prevented trying to piece these quilts the traditional way.
Not all paper foundation piecing patterns are super intricate or difficult. Some designs are actually pretty simple, but using the paper templates makes it so much easier because the pattern includes odd shapes, or small pieces that would otherwise be very difficult and not nearly as pretty at the end.

Hope these tips are helpful! Find these PFP patterns in the Color Girl pattern shop,
Rocky Road
True Colors
Hula Girl
happy sewing,