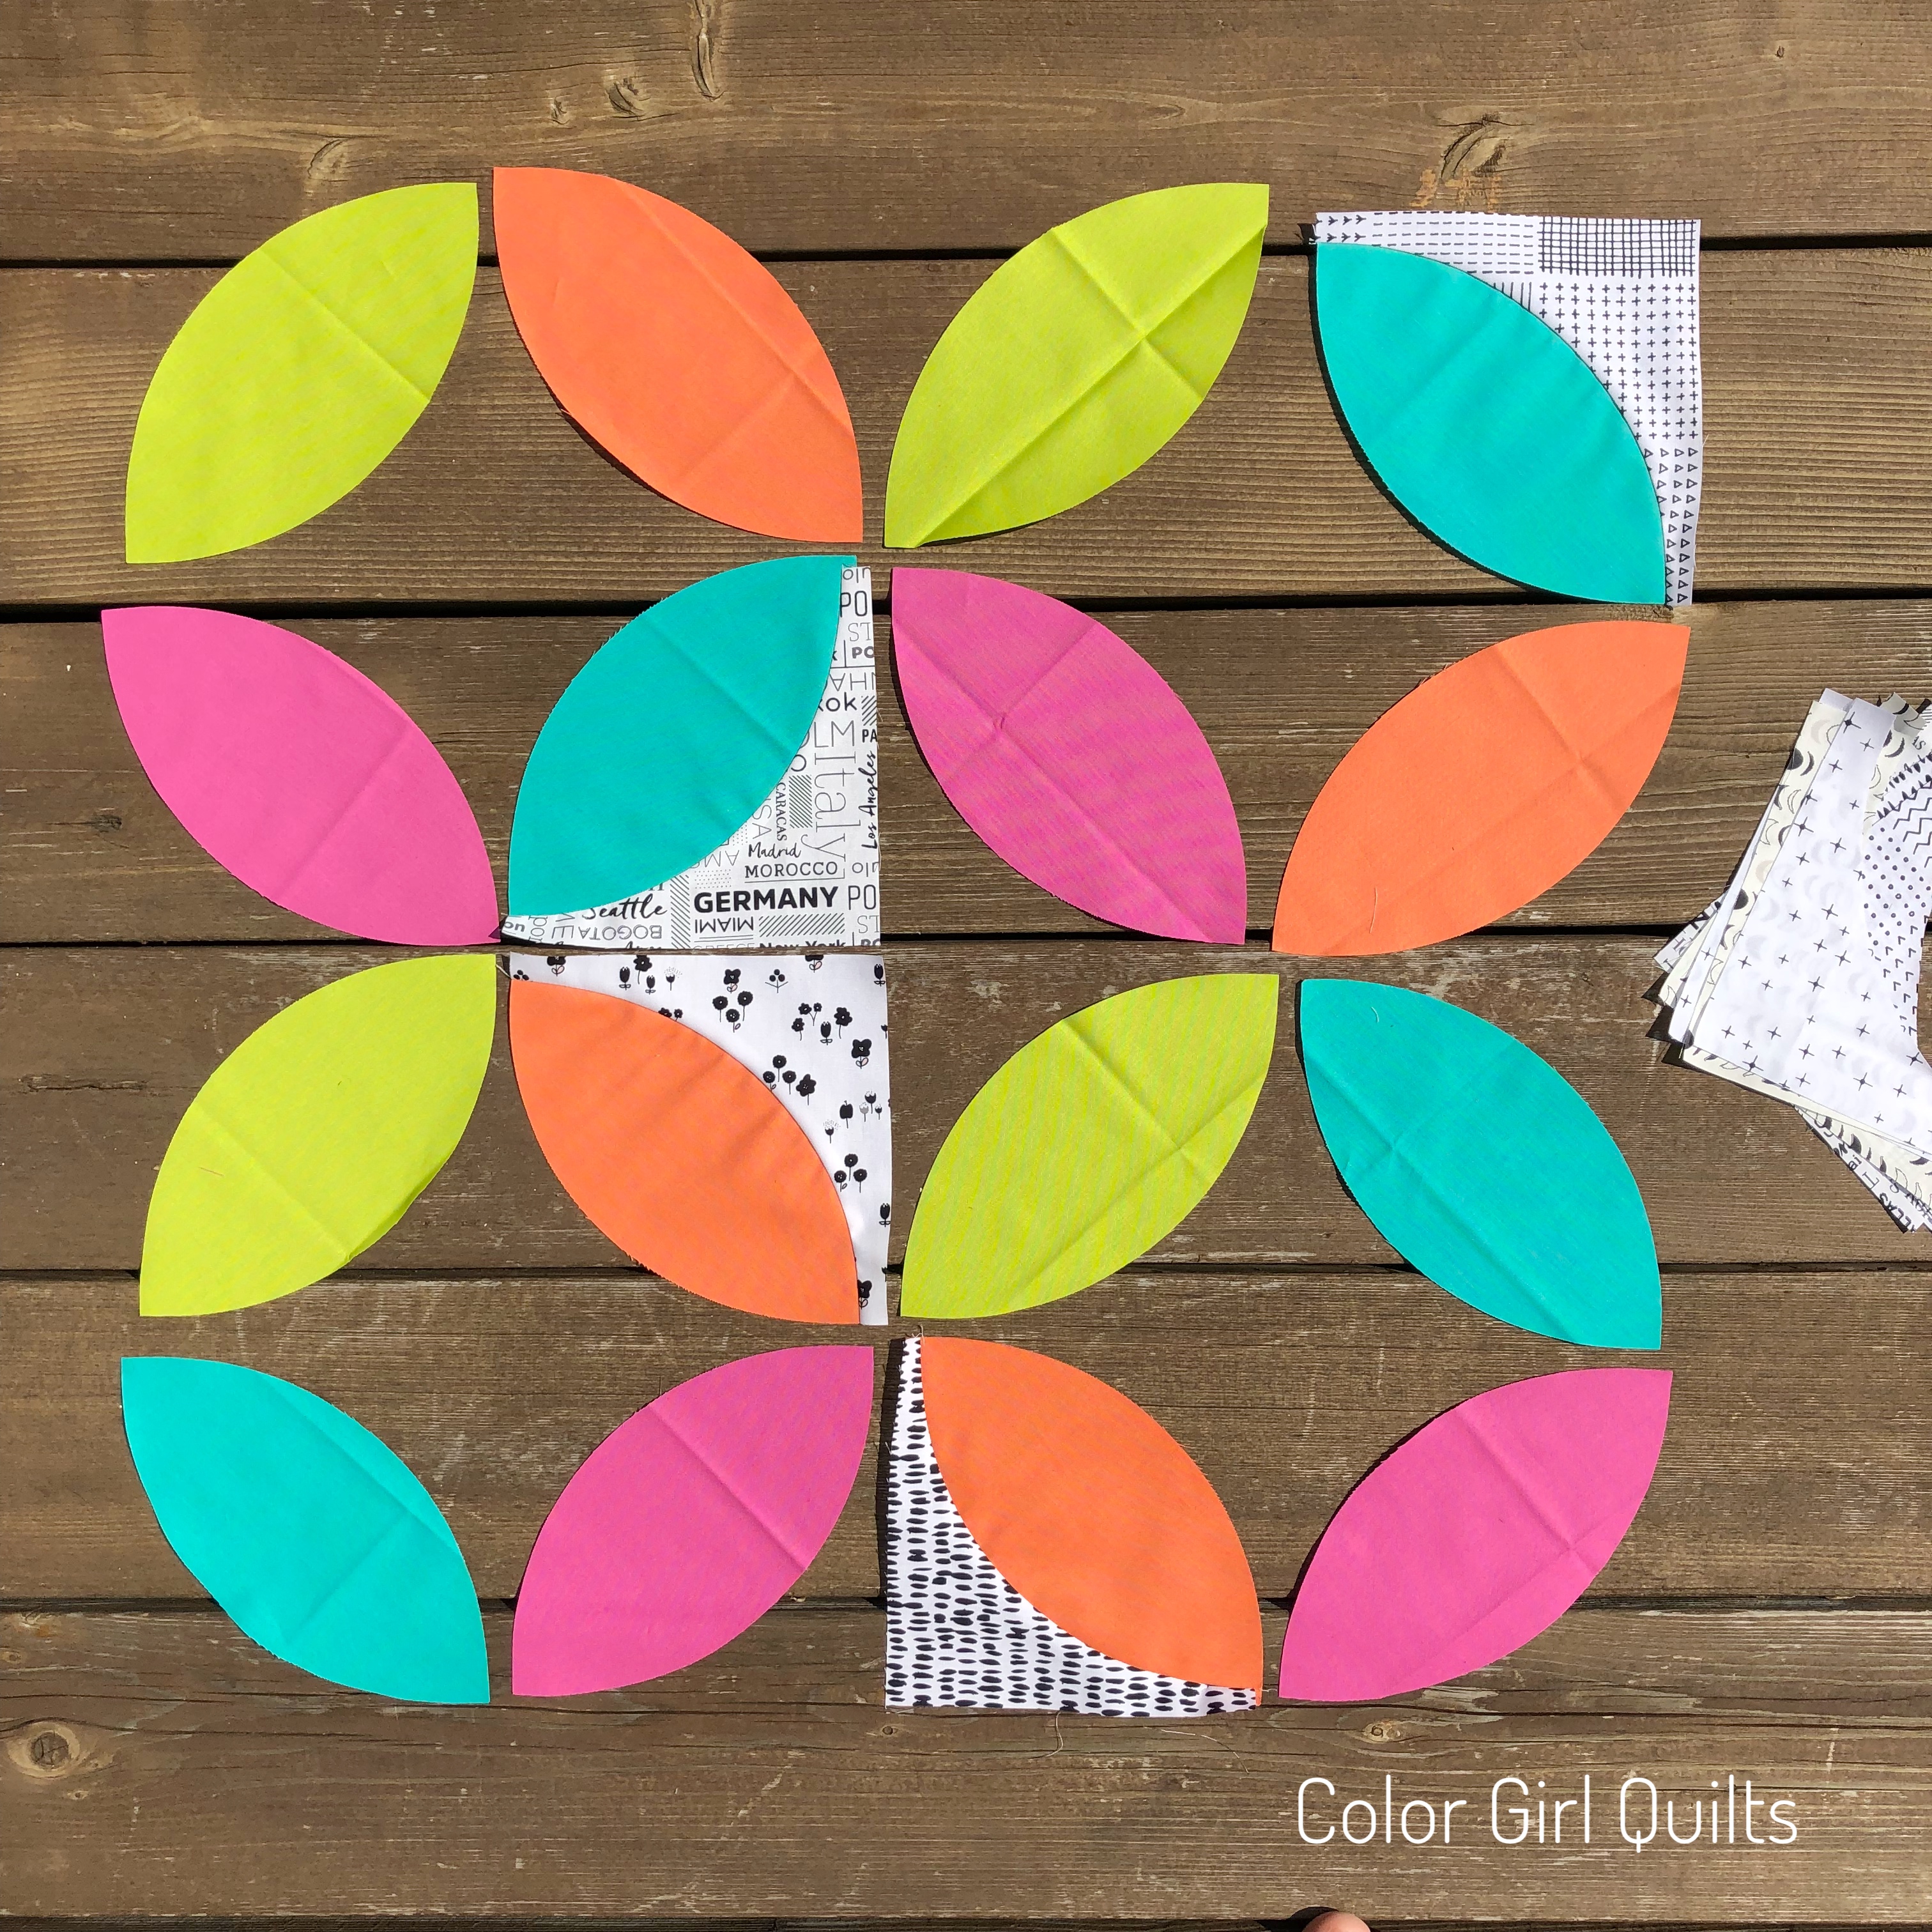
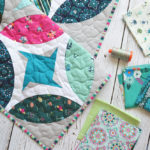
There is a new video on Color Girl YouTube! The second tutorial in our series on using the Classic Curves Ruler and curved piecing blocks is how to make orange peel blocks. It’s no secret these are my absolute favorite shapes to sew. This in-depth video shows how to cut the shapes with the Classic Curves Ruler, how to sew and trim and square your block. 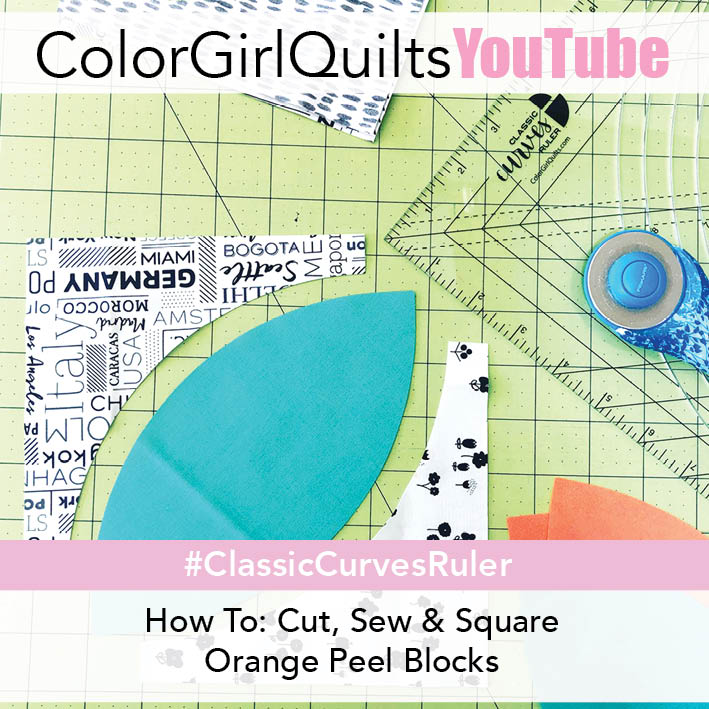
For the sample we are sewing orange peel blocks with bright solid colors and black and white prints. It’s going to be a fabulous modern design. These versatile blocks are easily personalized, though, so choose your own favorite colors and prints and let’s sew together! Next in our series will be how to set them together into a finished top.
Be sure and subscribe to the Color Girl YouTube channel and leave comments on the videos. I love your feedback and hope you’ll share with me what you make from the tutorials.
Happy Sewing,

Want awesome free patterns, tutorials, shop updates and more?
Sign up for email today.

Watched the video and found it very helpful. I’m a long time quilter but I always enjoy learning new techniques. Thanks
Loved your video Sharon, very easy to understand. Thanks
I love the ruler and the video for making the orange peel blocks. Do you have a pattern or chart for making the block in the different sizes? What size do you cut the squares for the background and what width do you cut the fabric for the melon shape for each size block? Thanks very much.
I was wondering this same thing! I want to make orange peel blocks that finish at 6 inches. I’m not sure how/what size to cut the actual slice in the middle. When I use the two at a time method, I thought I’d cut the squares 8 inches, but then do I use that middle piece as my orange slice or is it just a scrap? I would like to cut them two at a time as my outsides are going to be the same color.